In the Westside Eclipse Part 2, or: Why a Default White Balance of "5500K" Doesn't Work
White balance is a difficult aspect of post-processing photos, something I am still struggling with and learning about to this day. This problem was especially acute when I tried to edit the photos I took of the solar eclipse just west of Toronto in April. It was an exceptional situation, not quite day, not quite night, something I had never experienced before, and likely will never experience again, so I had no reference point. That's why it bothers me when certain "influencers" try to portray white balance as something very simple, such as a default of "5500K".
First of all, it is important to discuss what exactly is colour. In terms of light (additive colour), you have red, green, and blue as the three primaries. In printing and painting (subtractive colour), you have cyan, magenta, and yellow as the three primaries. These six primaries together form the colour wheel, where red is opposite to cyan, green is opposite to magenta, and blue is opposite to yellow. Red is in-between magenta and yellow, so it is combination of both in the subtractive colour model, or a component of both in the additive colour model.
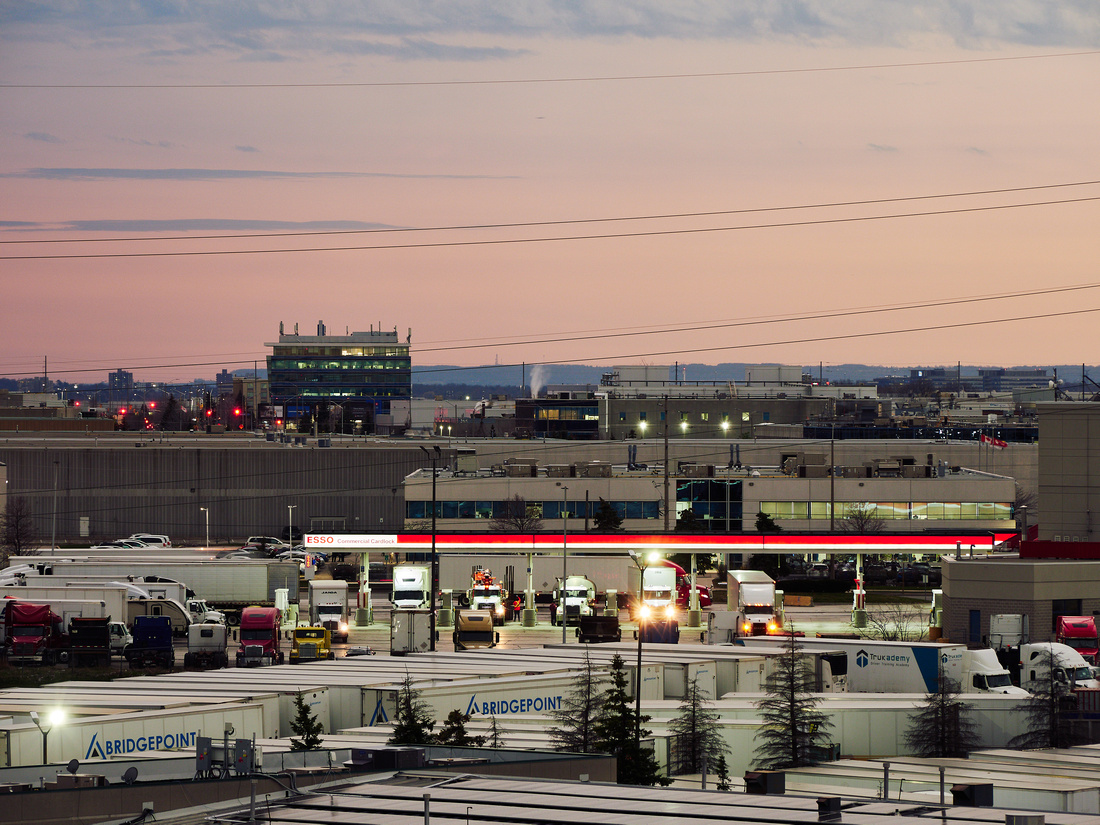
Secondly, it is important to think about what exactly "5500K" means in-camera or in a raw-editing software. This is actually more specifically a colour temperature, which defines the white balance in terms of red vs. blue. Changing the colour temperature of a photo has little to no effect on the green channel. To adjust the amount of green, we must set the tint, which defines the white balance in terms of green vs. magenta. As magenta is a combination of blue and red, changing the tint will also affect the amount of blue and red in a photo. So colour temperature is but one component of white balance, along with the tint. The importance of tint became obvious to me when I was editing this particular photograph:
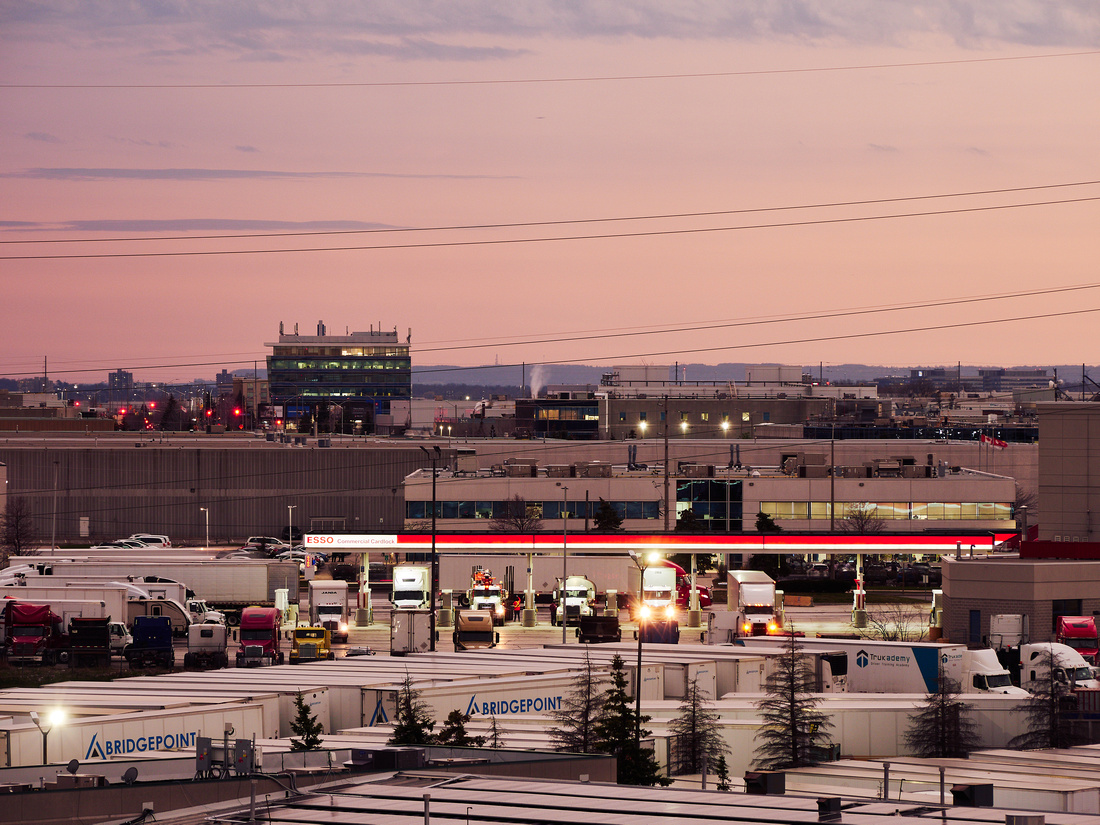
Here is what this photograph would have looked like if I had simply set the OM-D E-M1 Mark II to a "Custom WB" of 5400K and left the "G" (Green) parameter at the default of 0:


If you look closely, you might be able to spot a major problem: the lights of the gas station are green! This can be confirmed by hovering the mouse cursor over the pixels in question and looking the RGB values in Capture One; the G values are higher than the R and B values. There is some greenness on the shipping containers in the foreground as well. This greenness can only be corrected by using the Tint slider. This will shift the white balance away from green towards magenta, which in turn will increase the reds, which in turn must be compensated for with a reduction in colour temperature. In-camera with my OM-D E-M1 Mark II, this means setting "Custom WB" to 4600K and "G" to -6 to make what I see in the viewfinder match what I see with my naked eye.
So do our eyes really see everything at 5500K by default? Not mine at least. In fact, the way my eyes see constantly changes. When I am in bed at night and I suddenly turn on the lights, or I am in bright room at night and I suddenly turn off the lights, it takes some time for my eyes to adjust. Of course, mentally, as a photographer, I am often making a concerted effort to look at things in a different way. But even just physically, my eyes are constantly adjusting, and therefore my camera should also be constantly adjusting along with them.
